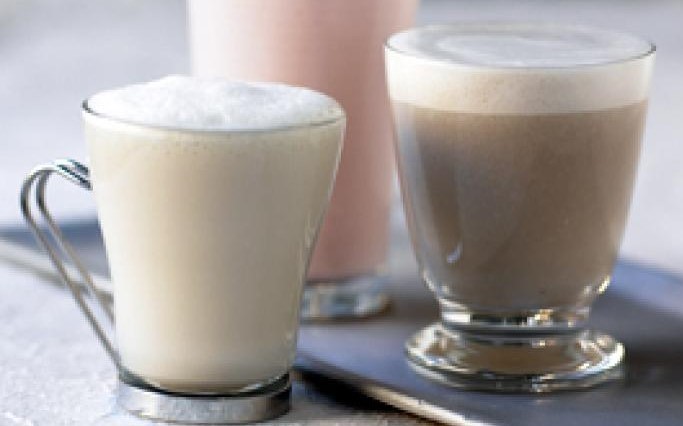
The art of steaming and foaming milk for lattes and cappuccinos


The art of steaming and foaming milk for lattes and cappuccinos is achieved with the use of your machine steaming wand. This wand injects hot steam mixed with air into the milk. Technique is critical to produce a fine velvety small cell foam. To the inexperienced or uneducated operator foam is often thought of as a larger tasteless dry collection of milk bubbles spoon on top of coffee. The taste of correctly made foam will not only enhance the flavor of the coffee but also deliver an almost desert-like quality to your cappuccino or latte. Heating milk with steam alters its chemical composition creating a different and wonderful flavor that harmonizes when combined with espresso.
Generally the lower the fat content of the milk the easier foaming is achieved. Skim or 2% milk will foam easier than whole milk. Other variables are the temperature of the milk, the shape size and material of the steaming pitcher, the machine steaming power and proper technique. The most critical factor we feel is the temperature of the milk when steaming begins. Cold milk is essential because of this we suggest only steaming approximately the amount of milk needed for each order. Milk steams best in a stainless steel pitcher the size should be determined by the volume of drinks your coffee bar generates. Generally the size of pictures will range from 12 to 32 oz our particular preference is a picture with a bell-shaped bottom this shape will allow him or circular flow generated by the power of the injection of air and steam. The small picture is sometimes ideal for a single 6 to 8 oz drink. Larger or multiple drinks will require the larger size steaming pitcher.
We will assume your machine has sufficient power and capacity to steam and foam milk properly. Through the years we have seen numerous techniques for foaming milk. We will share with you now the technique that has been most successful for us. Fill your pitcher ⅓ but never more than half full of cold milk. If you feel the picture of fuller than this there will not be sufficient room for the milk to expand. Next purge the steaming wand on a damp towel being careful not to burn yourself with the hot water that may have condensed inside the wand. Also, you do not want to inject this water into your milk at this point we will go through steaming and foaming step by step.
First submerge the wand totally under the surface of the milk toward the center of the picture. Then quickly turn the steam valve to full power being careful not to allow the tip of the wand to surface above the milk which will result in large tasteless bubbles. Now slowly lower the picture until the tip of the wand is just at the surface of the milk. You should hear a slight hissing sound. The proper alignment of wand to picture is necessary to create the proper circulation. You will need to continue to slowly lower the picture to keep the nozzle at this point as the milk expands. The exact positioning will inject the air and steam creating a small funnel or hole right at the milk surface. It is important to note that the milk is heated to no more than 150 to 160 degrees. It is almost impossible to heat milk to the exact temperature without the use of a thermometer. We highly recommend that you incorporate thermometers on each of your steaming pitchers. We usually start to shut the steam valve off at 140 degrees as the milk temperature will continue to rise past the time the wand is removed. Heating milk beyond on 160 degrees may create scalded milk with an unpleasant flavor and aroma. Make sure the one tip is fully submerged until the steam valve is totally closed otherwise once again perfect foam can be ruined in an instant and the end of the process. If some larger bubble should occur by accident in the steaming process tapping the bottom of the picture on the countertop will help condense the foam and break larger bubbles.
For wand maintenance and sanitation purposes it is advisable to once again purge the wand after steaming and immediately wipe the one with the clean damp towel. The foamed with milk is usable for lattes up to a minute or two. We advise almost immediate use when preparing a cappuccino. In the rare case that a customer requested drink with no foam steamed milk can be produced by keeping the tip of the wand fully submerged during the entire process.
We realize that frothing milk and the creation of perfect foam can be intimidating. Like any art form after learning the proper technique essentials practice will be necessary to feel comfortable and to become proficient.
Now let's review the proper techniques necessary to create correctly foamed milk.
- A properly shaped stainless steel steaming pitcher
- The proper amount of cold milk
- The purging of the proper process
- Proper wand placement throughout the steaming process
- Heating milk to the correct temperature
- Heating milk to the correct temperature
- Cleanliness and repurging the wand
About the Author


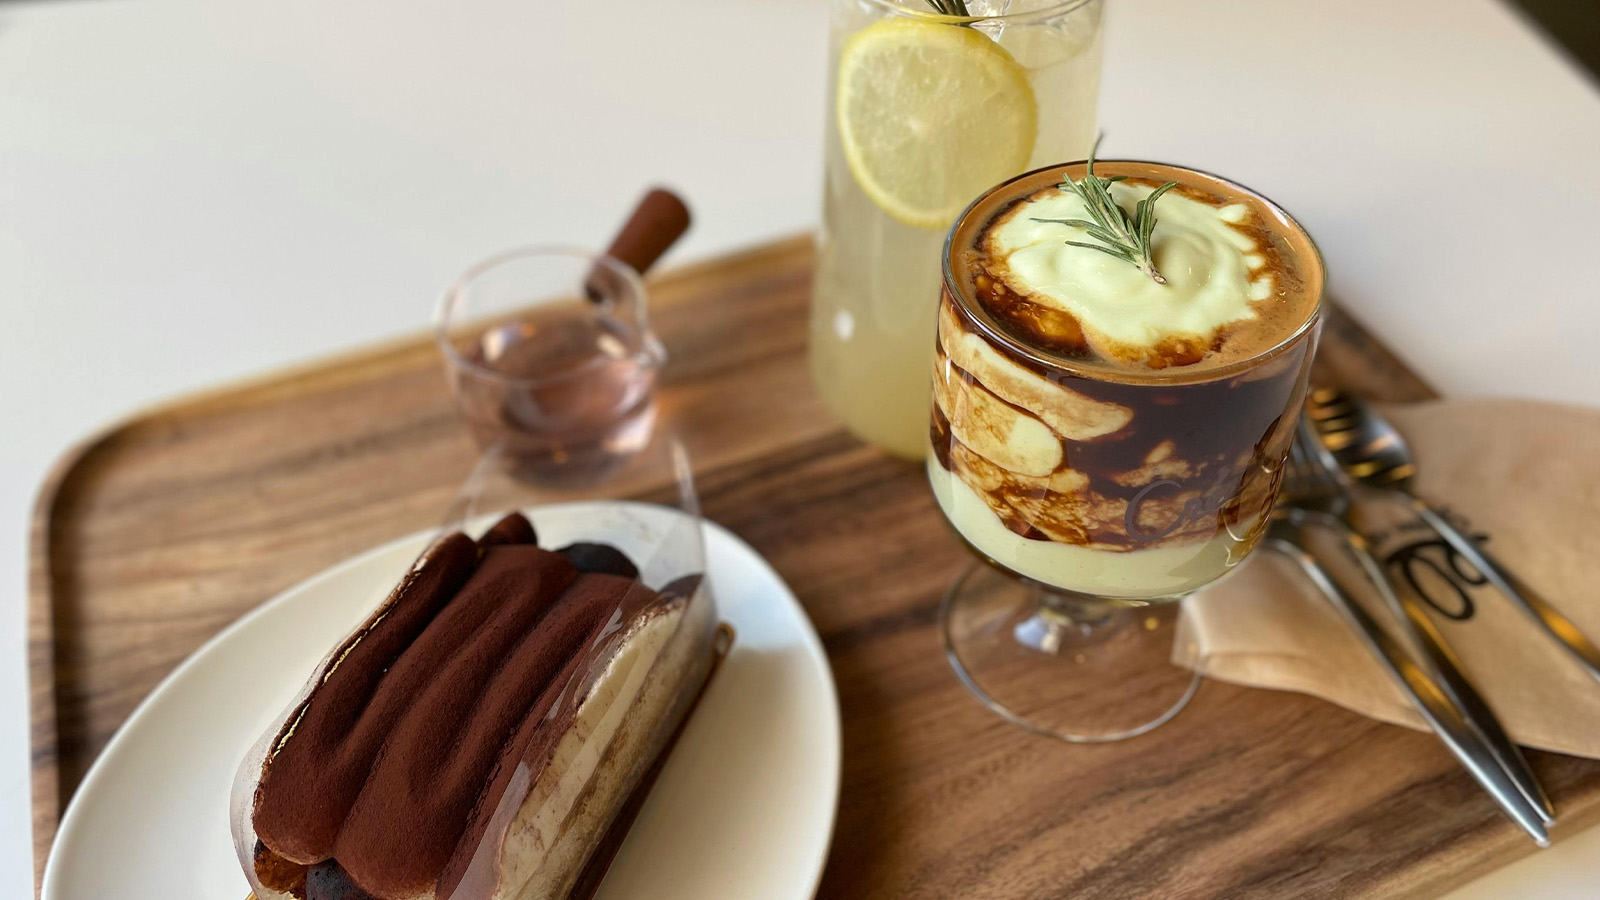
The Best Coffee Drinks For Spring
April 2, 2019
Non-Espresso Based Drinks
July 1, 2020

Our Guide to Making Drinks With Torani Sauces
March 1, 2021
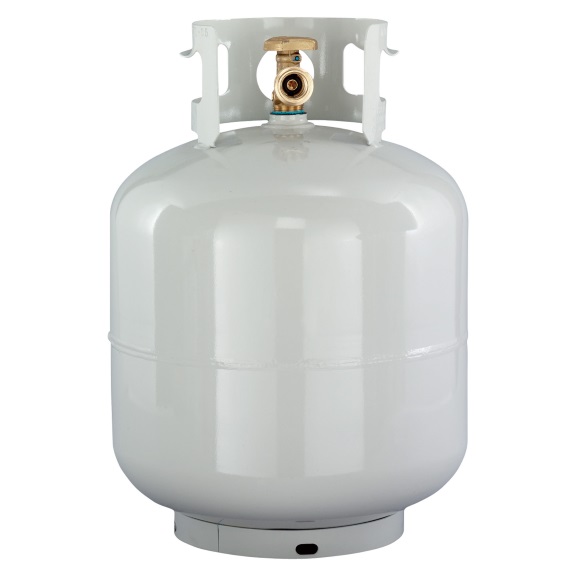
What You Need To Know About Propane Espresso Machines
November 29, 2017

Espresso Excellence: Extracting the Perfect Shot with the Right Roast!
December 12, 2023

Cooking with Coffee: How to Use Your Leftover Brew
February 19, 2024

Why We Crave Colombian Coffee
January 31, 2024
Espresso Excellence: Extracting the Perfect Shot with the Right Roast!
December 12, 2023

Grateful for Coffee: Your Coffee Guide for Surviving Thanksgiving
November 8, 2023